There are multiple ways in which you can add the Google Analytics (GA) tracking code to your site.
Standard CMS
About half of the Top 1M websites use a CMS (Content Management System) of some sort (BuiltWith), such as WordPress, Wix, Shopify etc.
Since Google Analytics is the most widely adopted web analytics tool (67% of Top 1M), almost every modern CMS has either a built in feature for GA or multiple plugins to support the standard GA implementation.
If you have a standard implementation (i.e. no custom events or dimensions), you should probably stick to this solution.
I’ve added a quick walkthrough of the most popular platforms: WordPress, Wix & Shopify.
WordPress
If you’re using WordPress, the world’s most popular CMS, you have several available plugins for adding GA to your site.
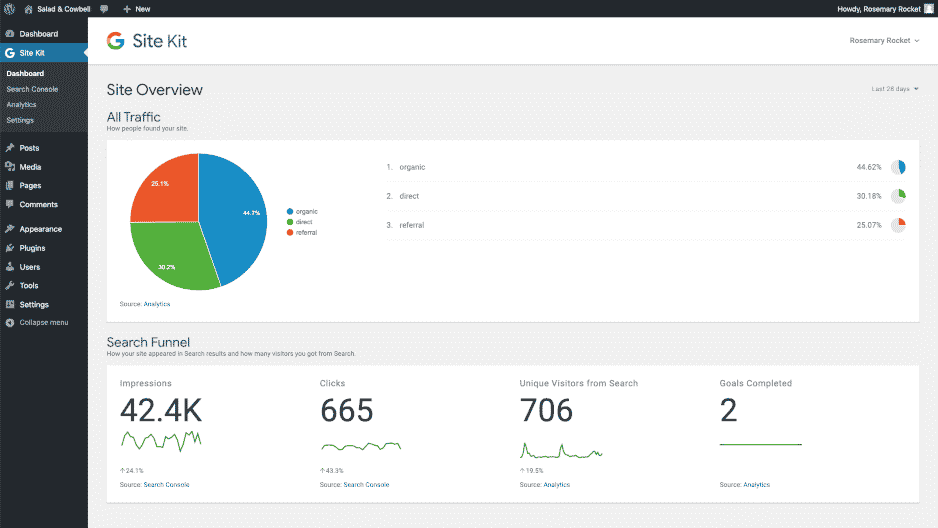
Site Kit by Google (Free)
This plugin, developed by Google, enables multiple Google tools for you website with one click: Google Analytics, Google Search Console and more. It can also be used to add the Google Tag Manager code to our site.

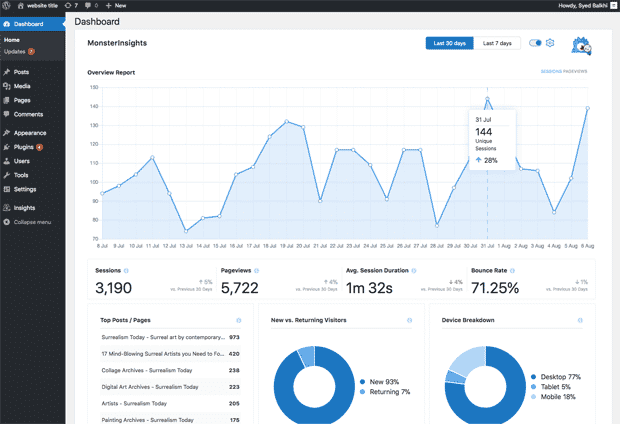
Monster Insights (Free, Pro plan available)
This is by far the most popular GA plugin for WordPress (more than Google’s!) with over 2M active installations.
Besides adding the GA code to the site, it also provides a neat analytics dashboard from directly inside your WordPress admin.

Wix
If you’re using Wix, then you can only add Google Analytics to sites with a connected domain (paid plan).
- To connect GA to a Wix site, you will need to first grab your GA Tracking ID (learn how)
- In Wix, navigate to Marketing Integrations
- Go to Google Analytics and click Connect
- Click “Connect Google Analytics”
- Paste in your Google Analytics ID
- Optionally, you can check the IP Anonymization checkbox to ensure GA will not save your site visitors’ IP addresses
- Click Save

This will add the GA code to all pages on your site. If you have multiple domains on Wix, make sure you add it to your Primary domain.
Shopify
Shopify store owners can add Google Analytics tracking on any plan.
- To connect GA to a Shopify store, you will need to first grab your GA Tracking ID (learn how)
- Log into your Shopify admin
- Navigate to Online store > Preferences
- In the Google Analytics section, paste your GA Tracking ID
- Click Save

Adding GA to your store will add the option to enable Enhanced Ecommerce tracking in GA. Enabling this tracking will reflect ecommerce data from your store in GA.
Using Google Tag Manager
A recommended way to add GA, for more experienced users, is by using Google Tag Manager (GTM). With GTM, you can easily manage multiple analytics, advertising and other tags on your site.
Managing your tags via GTM provides several benefits:
- No developer required – Marketers can quickly add/remove tags from the website without changing code or waiting on the Dev team
- Up to date snippets – GTM has standard tags for all major advertising and analytics platforms, that automatically update
- Performance – Tag in GTM are loaded asynchronously, and most standard tags in GTM use a light version, saving plenty of Javascript overhead
To add GA to your site using GTM, you will first need to install GTM on your site (guide coming soon!).
After you have the GTM tag on your site, you can follow these steps:
- To connect GA using GTM, you will need to first grab your GA Tracking ID (learn how)
- Go to your GTM account and open the relevant container
- Click “Add a new tag”
- Name the tag something memorable, e.g. Google Analytics Pageview
- Under Tag Configuration select Tag Type “Google Analytics: Universal Analytics”
- Verify that the Track Type is “Pageview”
- In the Google Analytics Settings dropdown select “New Variable”
- Name the variable something memorable, e.g. Google Analytics Tracking ID
- In the Tracking ID field paste your GA Tracking ID
- Click Save
- Back in the Tag, under Triggering, choose a new trigger. The default trigger is “All Pages”, which will load the GA tag on all website pages
- Click Save
Be sure to publish the changes in your GTM container by clicking Submit and then Publish


Code Installation
If you’re building a custom website, or just need a more flexible implementation of Google Analytics, you can simply install it using the provided Javascript snippet (where do I find this?).

To properly install GA, add the JS snippet on all pages of your website, preferably as high up as possible on the <head> tag. Adding GA in a the <body> tag will also work, but might result in discrepancies in tracking, as some users might leave the page before the GA snippet has fully loaded.