In this post, I’ll show how to quickly and efficiently set up a new pixel for Google Ads.
The Google Ads pixel uses the same mechanism as other standard pixels, so its setup is pretty simple.
Creating a Google Ads Tag
Creating your pixel can be done only after setting up an active Google Ads account.
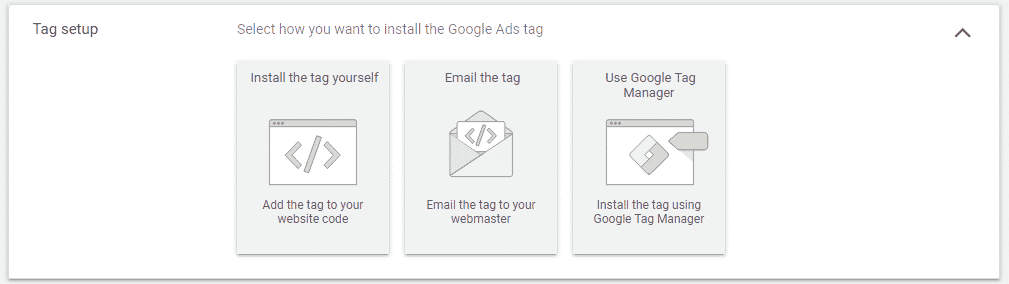
In your account, use the top menu to navigate to Tools and Settings -> Setup -> Global Site Tag.
You can then select how you want to install the pixel, manually or via Google Tag Manager.
Manually installing the Google Ads Tag
If you want to manually add the tag, simply copy the main code block.
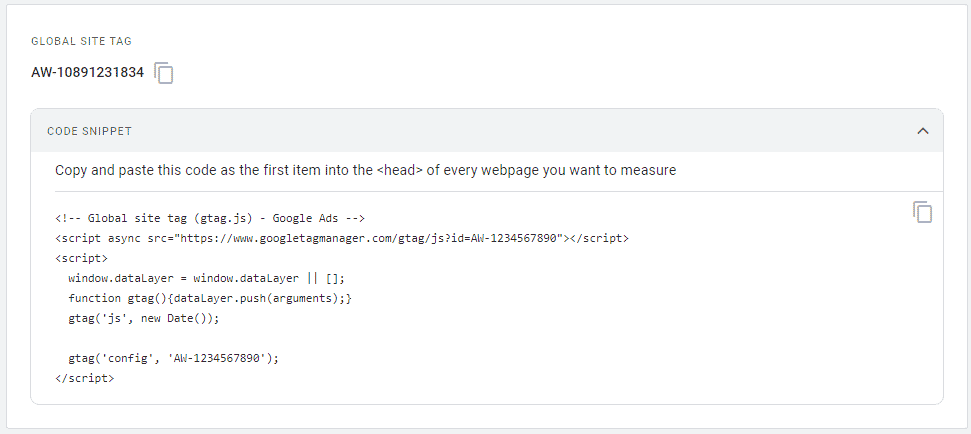
To properly install Google Ads Tag, add the snippet on all pages of your website, preferably as high up as possible on the <head> tag. Adding the pixel to the <body> tag will also work, but might result in discrepancies in tracking, as some users might leave the page before the pixel snippet has fully loaded.
Installing the Google Ads Tag using Google Tag Manager
Similar to other major platforms, Google Ads has a built-in tag in Google Tag Manager.
First, copy the Tag’s ID that’s located just above the code block. It should look something like this AW-1234567890.
- Go to your GTM account and open the relevant container
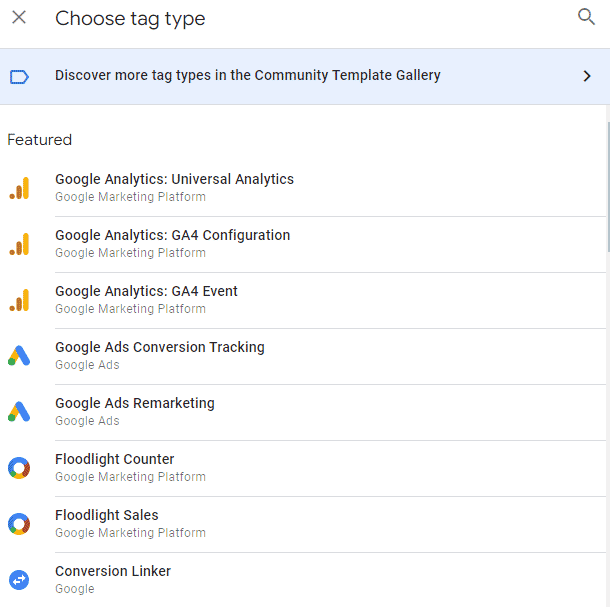
- Click “Add a new tag”
- Name the tag something memorable, e.g. Google Ads Pixel Page View
- Under Tag Configuration select “Google Ads Remarketing”
- In the Conversion ID field, paste the Google Ads Tag ID you copied without the AW- part, e.g. just 1324567890
- Under Triggering, choose a new trigger. The default trigger is “All Pages”, which will load the Google Ads tag on all website pages

- Click Save
The final tag should look like this:
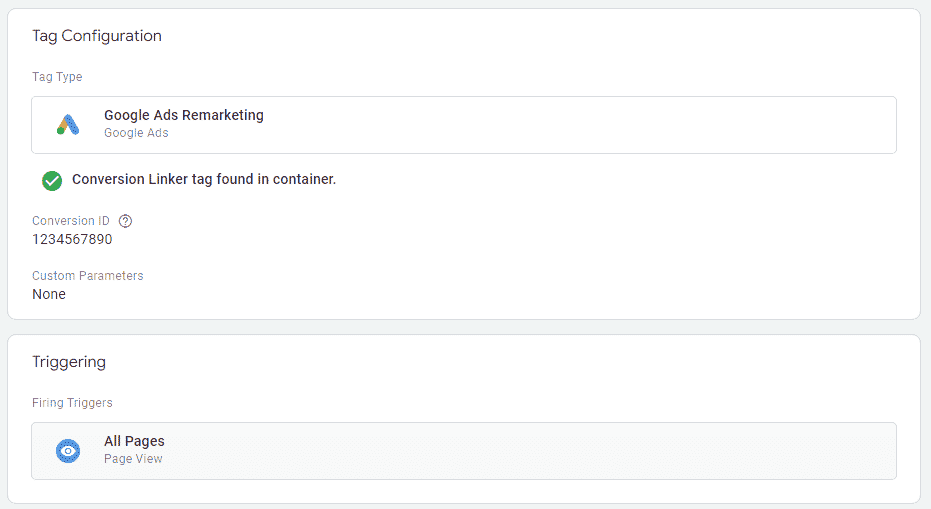
Be sure to publish the changes in your GTM container by clicking Submit and then Publish
The Conversion Linker Tag
After saving the Google Ads tag, GTM will likely prompt you to add a Conversion Linker tag to your container. This is highly recommended to do, as it helps with aligning the first/third-party context in which your various tags operate. This tag has no available configurations, so just save it and make sure its part of the published container.
Checking the implementation
Once the tag has been installed you can verify that the data is flowing in correctly by using the Data Sources reporting.
Using the top menu, navigate to Tools and Settings -> Shared Library -> Audience Manager.
Then click the side menu to navigate to “Your data sources” and finally click on “Google Ads tag”.

You can now see the number of hits received, if any additional parameters have been added to your events and more.
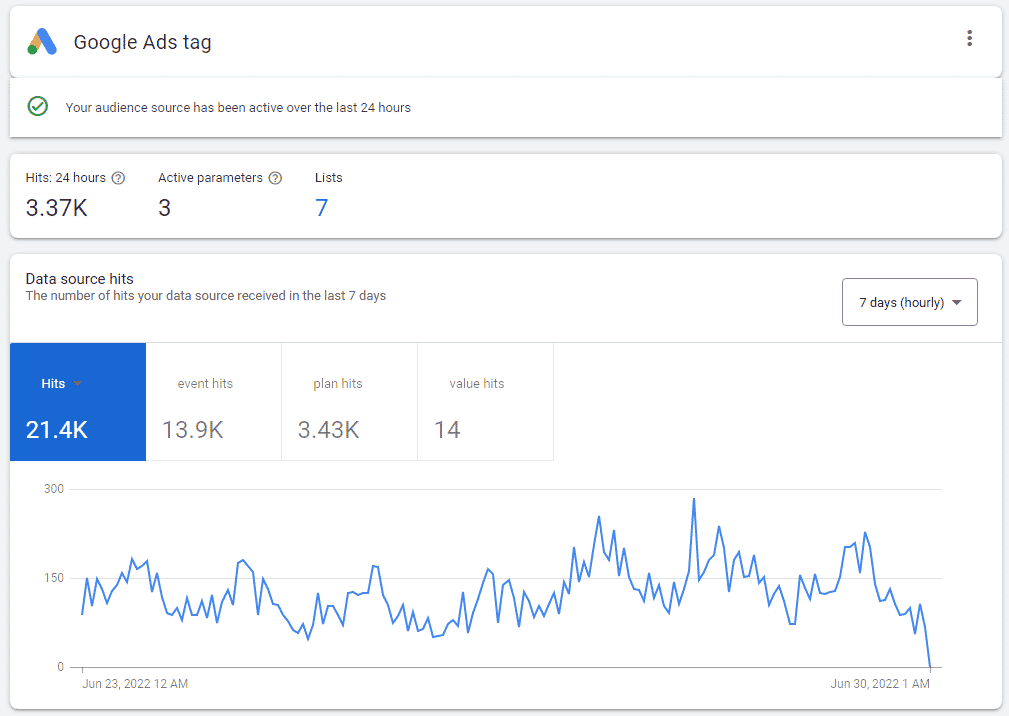
You can also get the tag installation details on this page, with the GTM method providing the truncated version of the tag’s ID that’s ready to paste in GTM.