The Calendly Meeting Scheduler is the industry standard for online meeting coordination. Aside from being the longest running solution, they also were also the first to introduce a proper solution for tracking interactions with their widget so that online marketers could actually report on the.
In this post I’ll walk through the various options for tracking these conversions in Google Tag Manager.
Shoutout to the DumbData team and Julius Fedorovicius for the original iterations of this script.

Calendly widget tracking with Google Tag Manager
To track engagement with the widget we need to add a Custom HTML tag with an event listener.
Create a new tag of the type Custom HTML and paste in the script below.
<script>
window.dataLayer = window.dataLayer || [];
window.addEventListener('message', function(e) {
    if (e.data.event && e.data.event.indexOf('calendly') === 0) {
        var eventParts = e.data.event.split('.');
        var eventName = eventParts[1];
        if (eventName !== 'page_height') {
            window.dataLayer.push({
                'event': 'calendly_' + eventName
            });
        }
    }
});
</script>
Trigger this tag to fire on All Pages.

Pro tip:
This script ignores the page_height event which tracks changes in the height of the Calendly widget. I did this to reduce the noise and the need to exclude it when creating the triggers.
Next, create a new trigger of the type Custom Event.
The event’s name will be calendly_.* and toggle on the ‘Use regex matching’ checkbox.

You can now connect this trigger to any tag in your container.
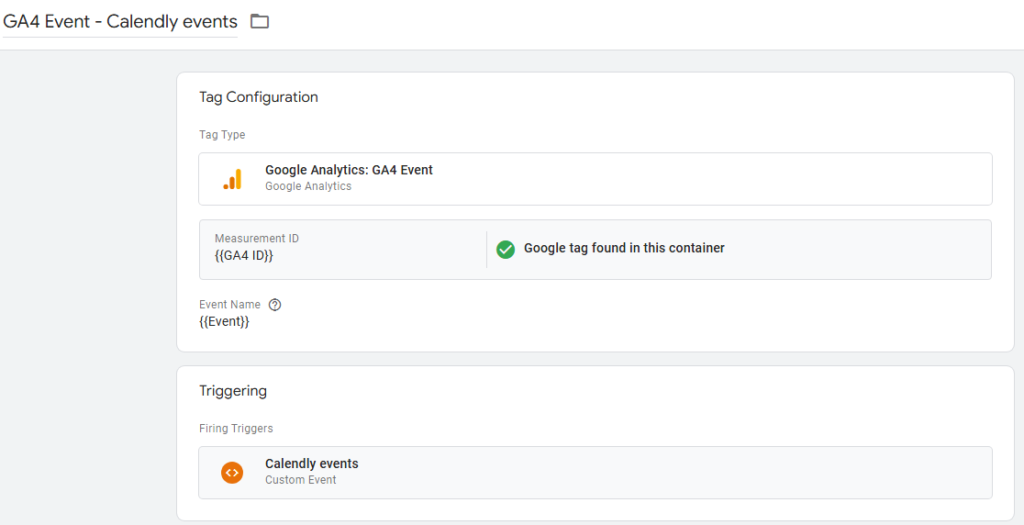
A simple GA4 event tag will now look similar to this:

The expected event names are:
- calendly_profile_page_viewed
- calendly_event_type_viewed
- calendly_date_and_time_selected
- calendly_event_scheduled (conversion)
Congratulations, you’re all set!
Tracking Calendly conversions
To track only Calendly conversions (for example for ad platform pixels), simply create a trigger limited only to that event – calendly_event_scheduled
